September 27, 2017
DIY Hanging Centerpiece for Your Fall Table
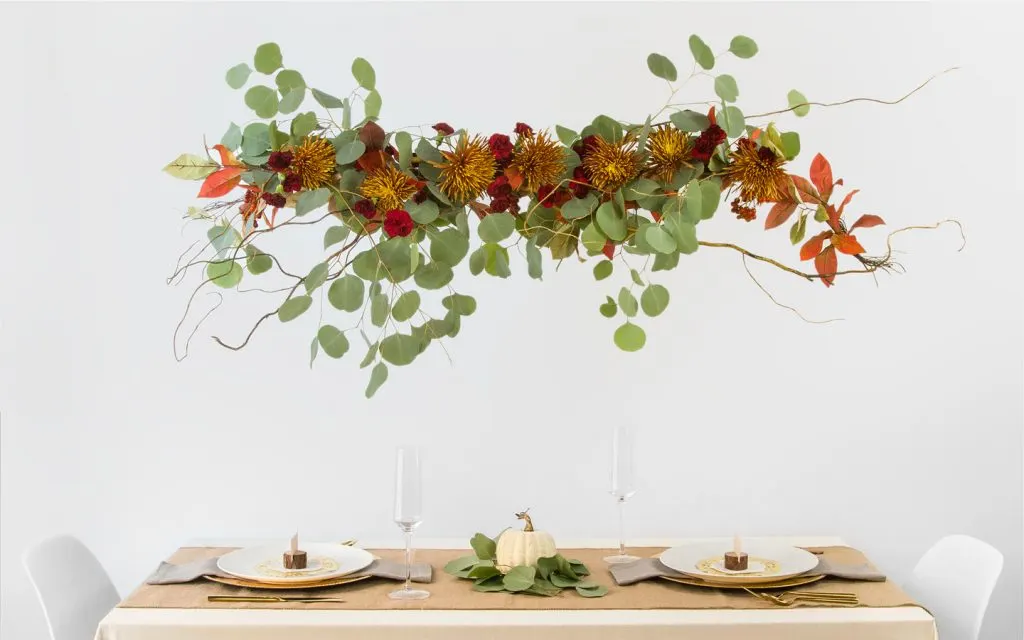

Step up your decor game by creating your own hanging centerpiece! They are exciting, unique and extremely fun to make! Not only do they make for a wonderful decor element, but they save space on your table for other fun fall decorations. In just four easy steps, you can create an eye-catching centerpiece that will leave your guests in awe.
For this particular hanging centerpiece, we chose to make it fall-themed using warm colors like yellow and burgundy. We mixed these with greenery and autumn leaves to create a design reminiscent of the fall months. Before you get started creating your arrangement, let’s make sure that you have all the materials that you’ll need.
Materials
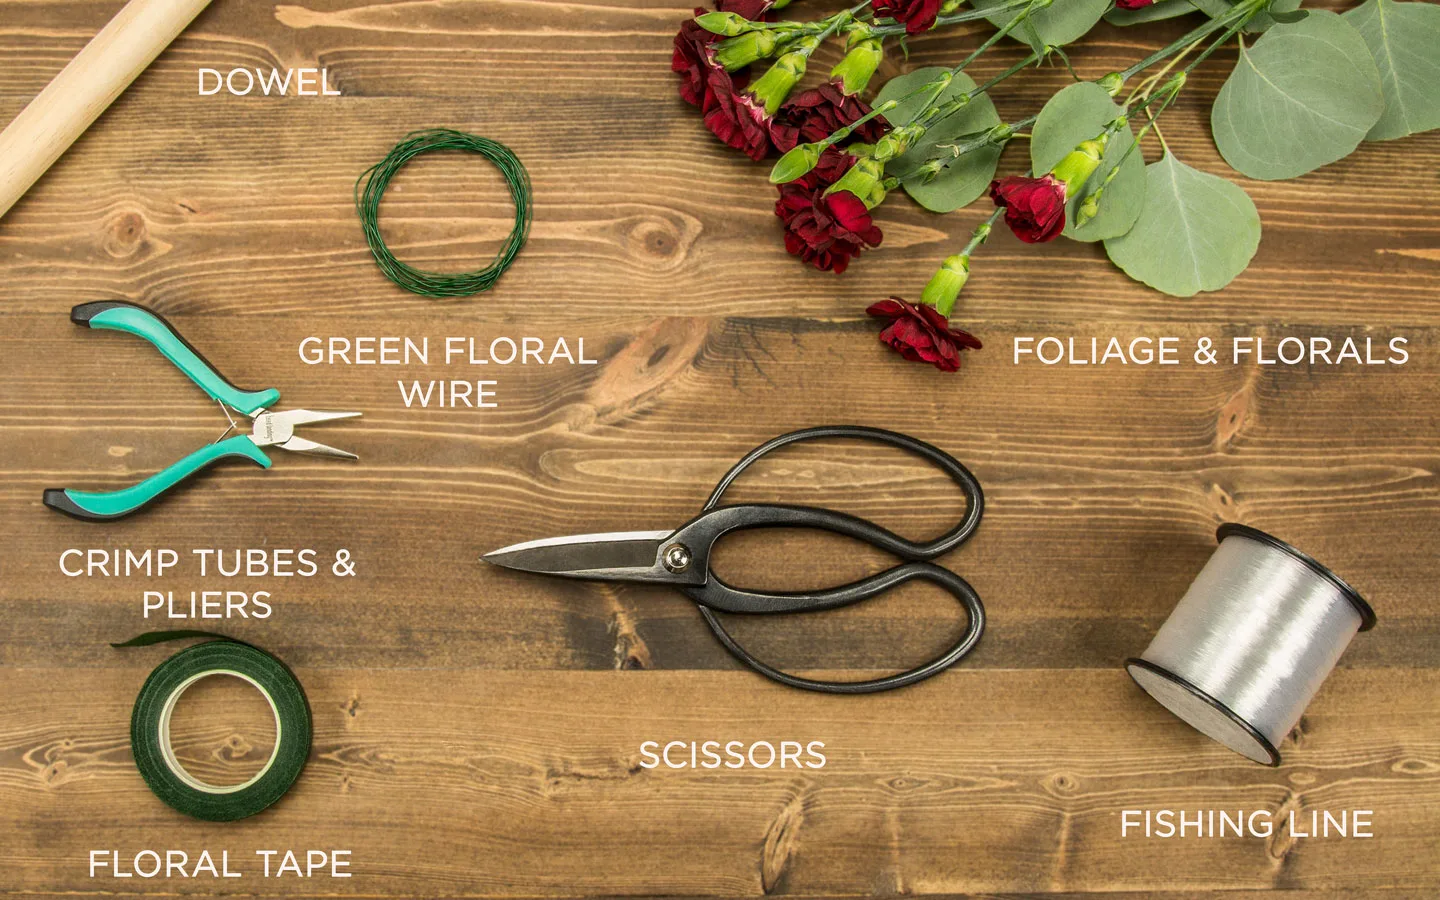
Wooden dowel – This will be the base of your design and what you will attach the greenery and florals to. The length of your dowel should be approximately half the length of your table. The dowel we used was two feet long.
Flowers and foliage – When selecting flowers for your hanging centerpiece, it is important to have a theme in mind. For this design, we decided to make it fall-themed, by using eucalyptus as the greenery and yellow spider mums and burgundy carnations for the florals.
Green floral wire – Floral wire will be used to secure the flowers and foliage to your dowel.
Green floral tape – Floral tape is perfect for attaching greenery and flowers because of its strength and elasticity.
Scissors – You will need scissors to cut the flowers and foliage, floral tape and floral wire.
Fishing line – The fishing line will be used to suspend your hanging centerpiece.
Crimp tubes – Crimp tubes are small metal rings that will make sure your fishing line is secure.
Pliers – Pliers will be used to clamp the crimp tubes in order to secure them to the fishing line.
How to Make a Hanging Centerpiece: Video Tutorial
Now that you have the materials needed to make your hanging centerpiece, it’s time to start crafting! Check out our video tutorial below for four easy steps on how to make the perfect hanging centerpiece.
WATCH ON YOUTUBE
How to Make a Hanging Centerpiece: Step-by-Step Guide
Project Time: 1 – 2 hours
Step 1: Take dowel and clamp fishing lines on both ends.
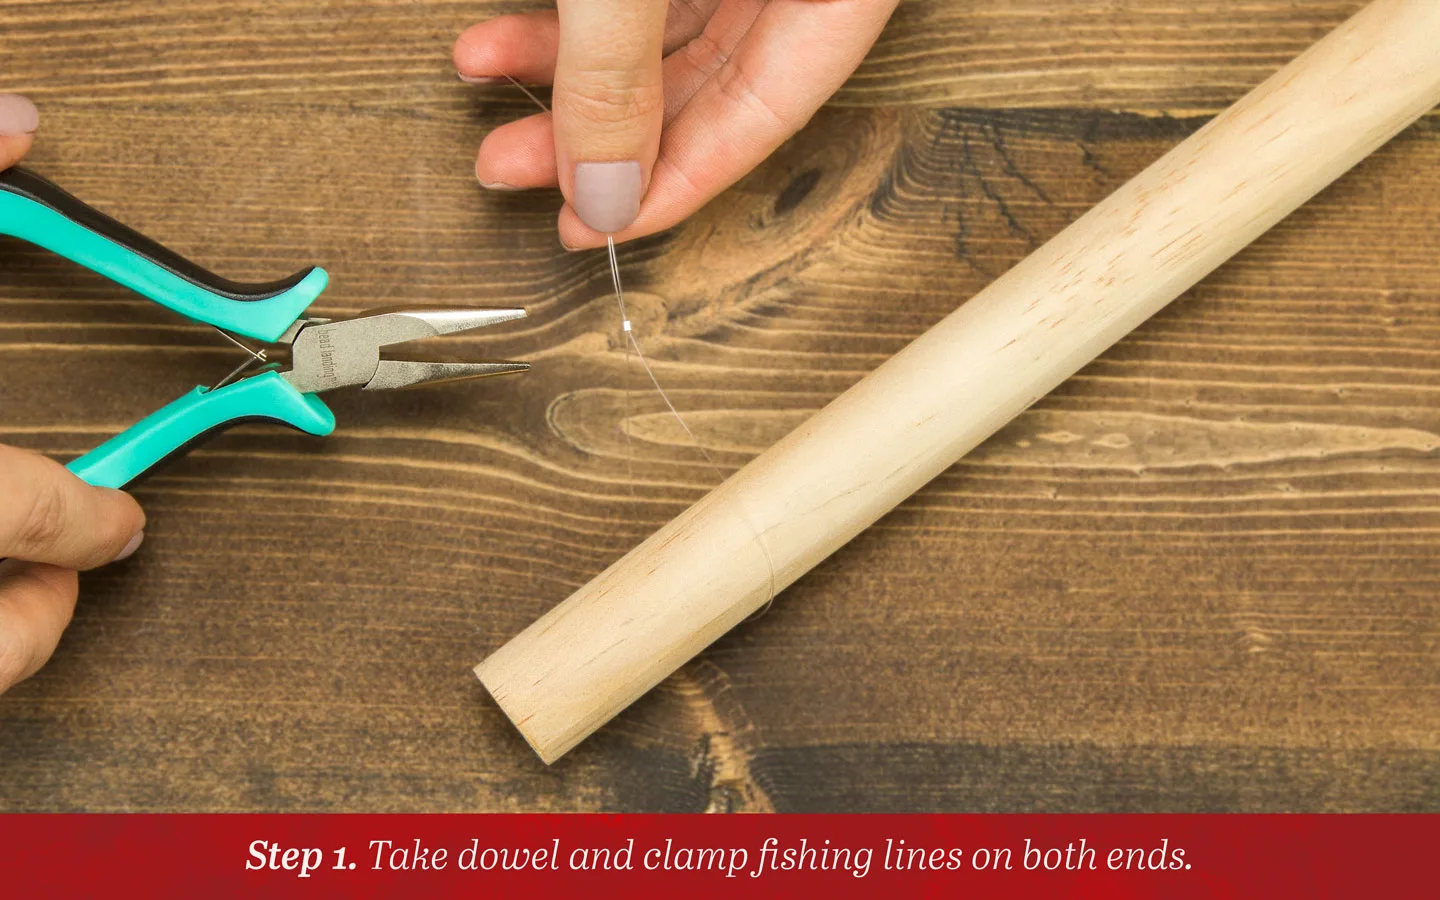
Once you have decided how high you would like your hanging centerpiece to be, cut two lines of fishing line that are equal in length. These will be used to hold your centerpiece. Make sure that each line is the same length so that your dowel will hang steadily.
Secure the fishing line on each end using crimp tubes and pliers. Stick the fishing line through one end of the crimp tube and then back through the other in order to create a loop. Then, slip the dowel through the loop. Once you have done this, use the pliers to clamp the crimp tubes so that the fishing line is secure around the dowel.
Step 2: Wrap greenery around wooden dowel using floral wire.
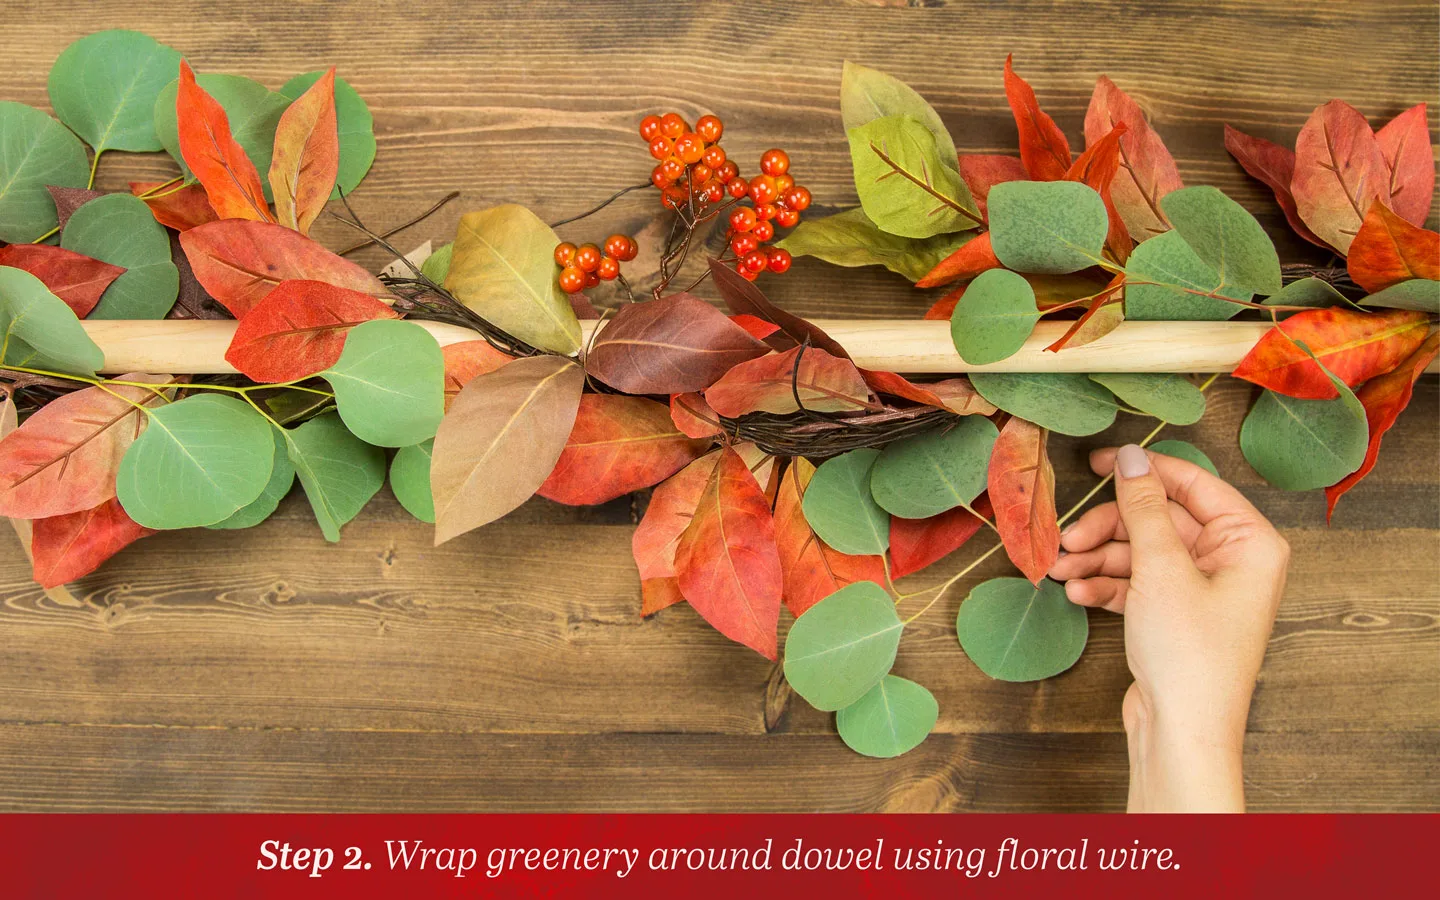
Next, you can start wrapping different types of greenery around the dowel. The types of greenery that we used for this particular centerpiece were twigs, silver dollar eucalyptus and fall leaves. Wrap each piece individually, taking your time to make sure that each side is even.
Use the floral wire to secure the greenery to the dowel. You can do this by wrapping the wire around pieces of greenery on the dowel and then tightening it. Make sure to not use too much floral wire so that the greenery can hang more naturally. For any areas where you’d like the greenery to stay in a certain spot, use floral tape to secure it.
Step 3: Hang your centerpiece.
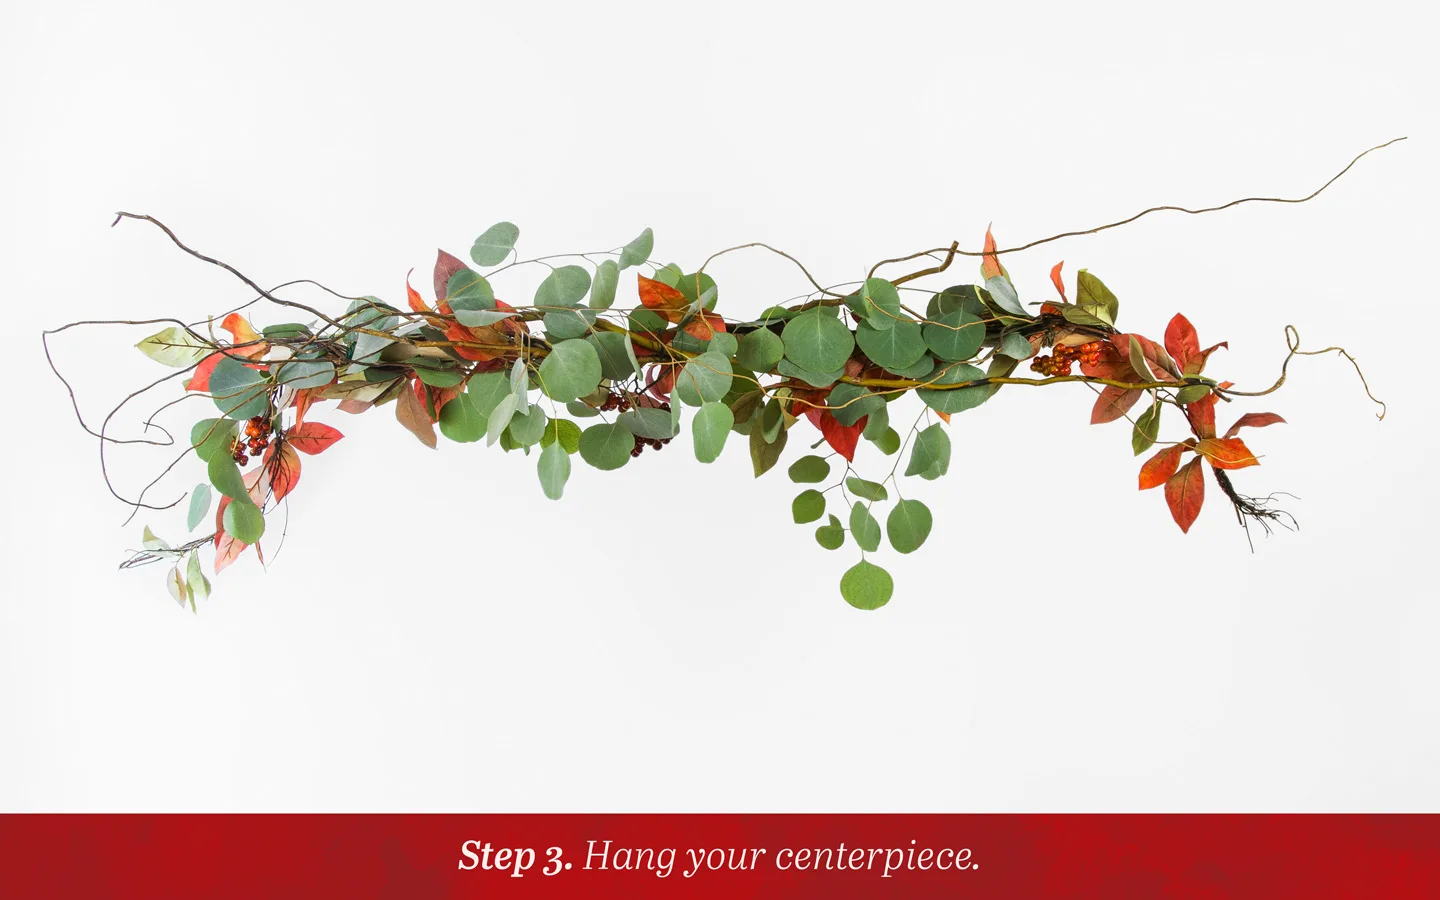
Now it is time to hang your centerpiece! You can do this a number of ways depending on where you will be putting your design. If it is attached to an exposed beam, consider wrapping it around and tying it, using the crimp tubes and pliers. If it will be hanging from the ceiling, attach two hooks and tie the other ends of your fishing lines to them. Then, suspend your centerpiece using the fishing lines on each end.
Attaching greenery before hanging the centerpiece makes the process a lot easier, because you can wrap around each piece on a stable surface. Once the centerpiece is hung, make sure that it is even and stable.
Step 4: Add florals.
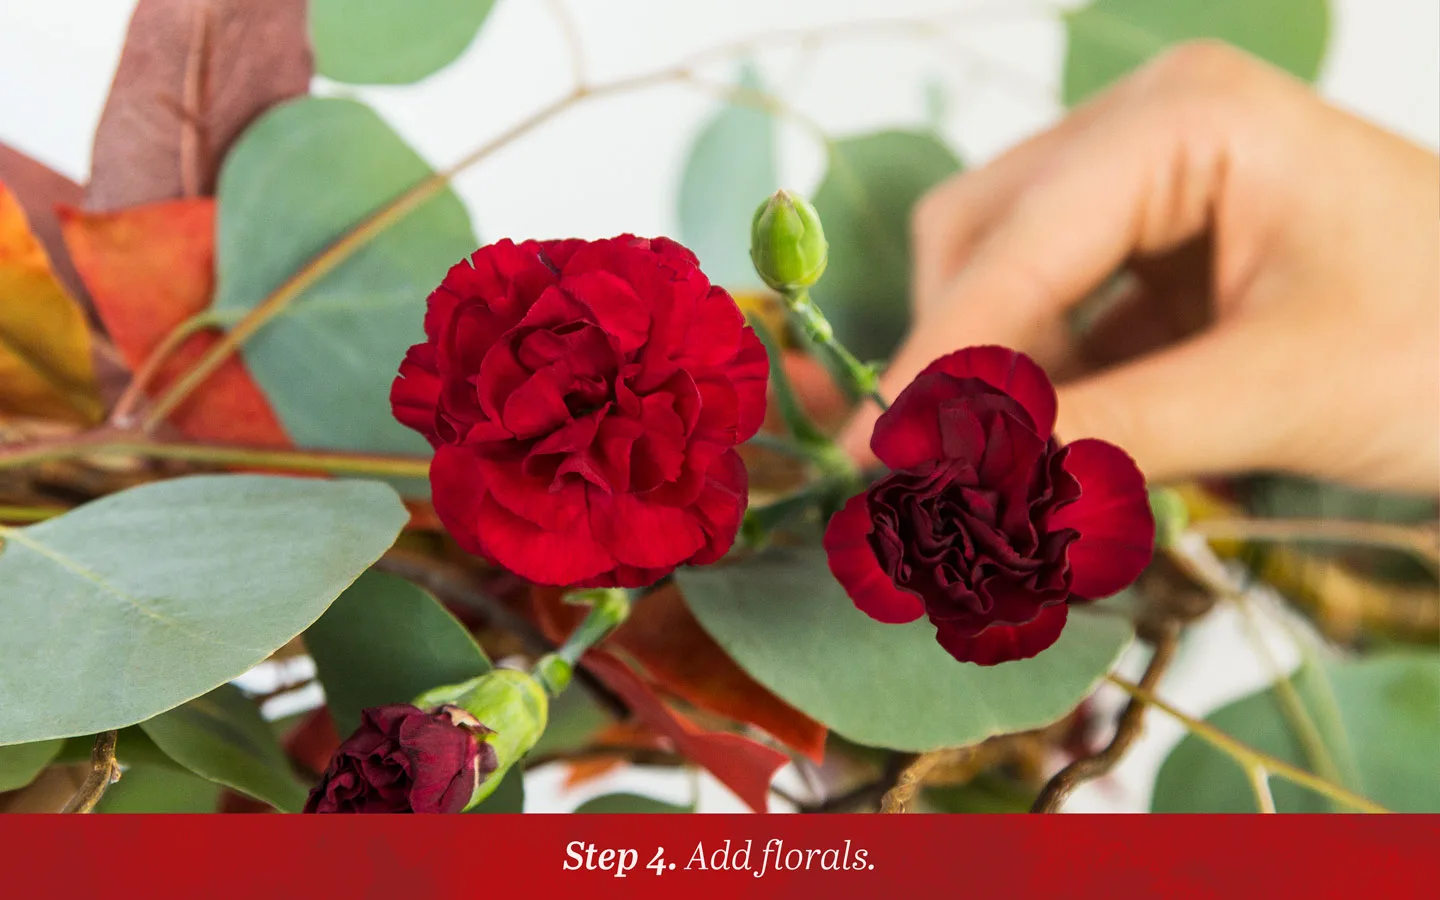
Now for the fun part! Add florals to the empty spaces in the design and wherever you think they look best. Cut the stems of your flowers with scissors so that they are easy to insert into the greenery. Placing the stems of your florals in between the greenery will ensure that it stays put. You can also use floral tape to do this.
The best part about making a hanging centerpiece is choosing the flowers for it! The florals we chose for this design were burgundy carnations and yellow-orange spider mums. These colors work beautifully with the fall leaves and natural greenery to create a stunning autumn design. Keep in mind that if you use real flowers, your design will only last a couple of days before they begin to wilt. To extend the life of your floral centerpiece, periodically mist the flowers and foliage and avoid hanging it in direct sunlight.
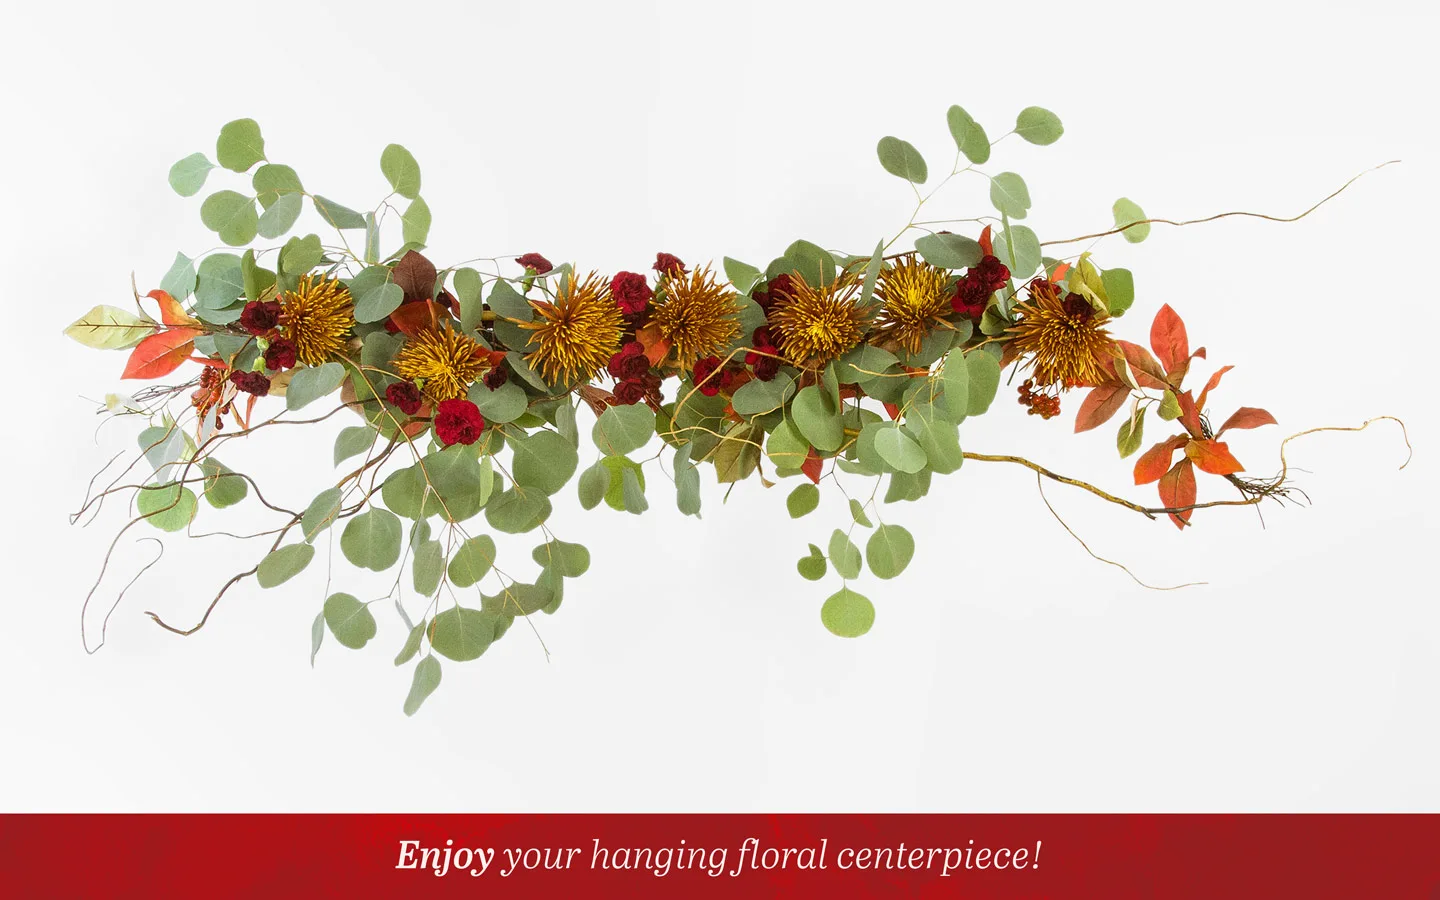
Now it is time to enjoy your hanging centerpiece! Invite guests over for a dinner party or use it as a part of your Thanksgiving decor. Whichever you choose, make sure your centerpiece is stable and the flowers are fresh to avoid any falling parts. There are a number of ways to decorate your hanging centerpiece, so don’t be afraid to play around with different florals until you find the design that is right for you. Check out our fall flowers to brainstorm what types you want to use for your autumn arrangement.